Custom Console

There comes a time when every hotrodder wants to seperate his car from the others. For me that started with the engine and front suspension, detailing every inch so when I popped the hood people would take a second look. When it came time to fill the void between the newly installed seats, I was ready to make a truly custom console that would impress even the harshest critic.


The plan was simple: build a custom console that would hold gauges, provide storage space, and fit into the original interior without disturbing the overall factory resto-mod appearance. Executing that plan proved to be a long and tedious process, however the results were (at least in my opinion) well worth the effort. Follow along as I build a custom console for my Nova...


Design By Iteration

I'd never built a console or had much wood working when I started, so the design process was iterative for this experience. I started by placing a 2x4 along the length of the floor situated on bricks at the height and level where I wanted the top of the console. Next I measured down in one inch increments to develop the contour of the floorboard. From these measurements I constructed the first template (shown at the bottom of right picture) which conformed perfectly to the carpeted floor.


Once the floorboard was mapped out, I constructed my first console out of 1/2 inch birch plywood. I marked and cut both sides with a jigsaw, then attached them with 3/4" square dowel at the desired spacing. This allowed me to again measure down to the floor and develop the vertical front and rear pieces for the console storage area, which I attached with wood glue and nails. With a ruler and tape measure handy, I constructed top plate and gauge panel templates from scrap wood.

Although this could easily have become my final console, I was unhappy with the gauge panel not meeting with the dash and wanted the storage area to sit a bit taller for an appropriate armrest height. Also upholstery would have been difficult with all pieces permanently assembled. With minor changes, I began construction of the final console.


Final Construction & Upholstery

For final construction, custom brackets were cut from angle aluminum, drilled, then countersunk. Although the bracketry was a bit overkill, I needed an excuse to use my new drill press. The results were some sturdy brackets, attached to the wood with #8 wood screws following predrilling using a depth collar.

Next came upholstery. I bought about 3 yards of black vinyl from my local fabric store, a can of 3M Super 80 Vinyl Adhesive, and a T50 staple gun from Home Depot, then went to work on my dining room table.

"Cutting corners" at first seemed a daunting task, but practicing with copy paper helped me visualize the correct way to cut things (shown upper right). I cut the vinyl so a small piece would cover the corner, while the bulk section would fold over, completely covering the corners.

The main pieces of vinyl were sprayed with adhesive, then layed on the table and stretched around each piece. The Super 80 adhesive could have been used alone, but the staples will prevent detachment under elevated temperatures.


Stainless Steel

I have always been a huge fan of brushed stainless steel. Despite being much heavier and more expensive than aluminum, I knew it would make the perfect material for my console top. I started by measuring things out onto 18 gage stainless and used a manual shear at school to cutout the basic shapes.

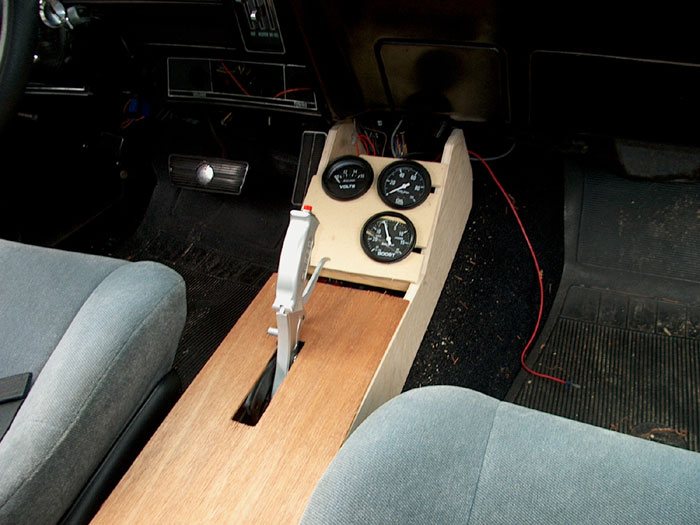
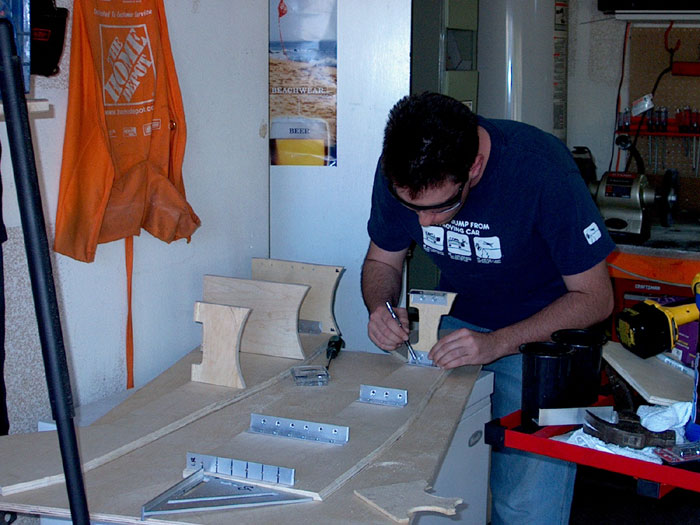
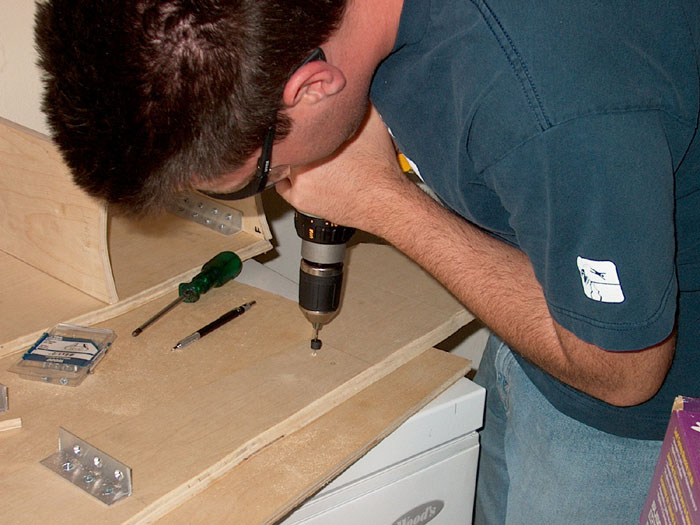
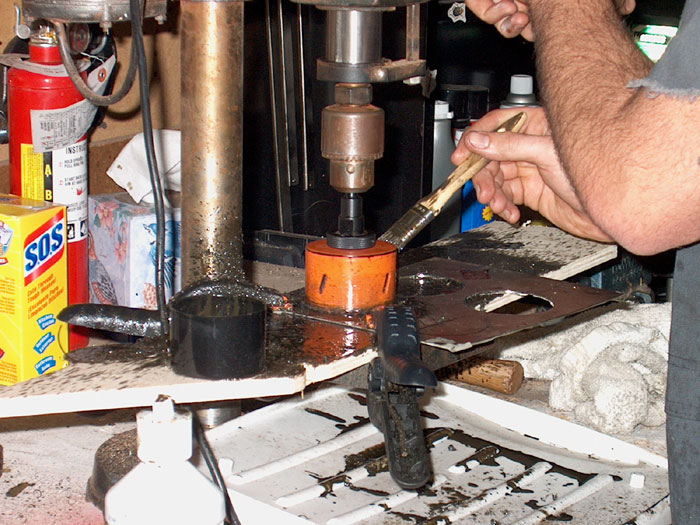
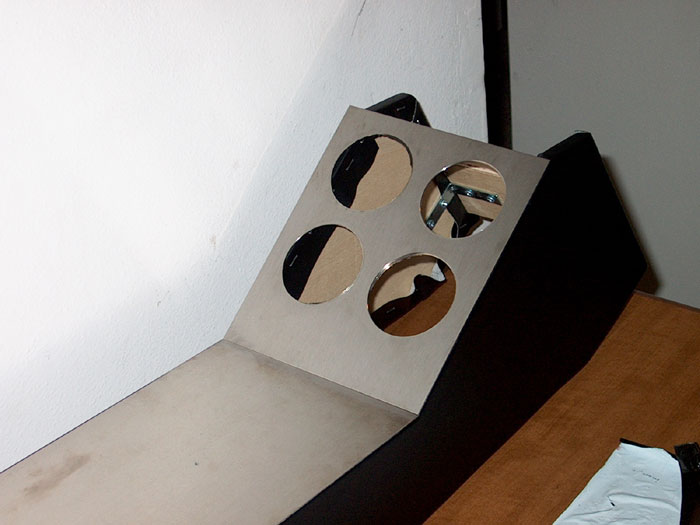
What you see here is about $30 worth of remnant stainless. Once the basic shapes were sheared, I started to cut gauge holes using my drill press and a bi-metal hole saw. This was a terribly difficult process for two reasons. First, stainless steel work hardens, which means it becomes more and more difficult to machine as you cut. Secondly, my drill press could turn a minimum of 600rpm, far beyond the 80-100rpm optimal cutting speed for stainless. The result was a very slow process that took a solid two hours, even while using moly tapping fluid. If I had it to do over again, I would have used a hand drill and slowed the cutting speed, which would have reduced work hardening and made the cutting process much quicker.

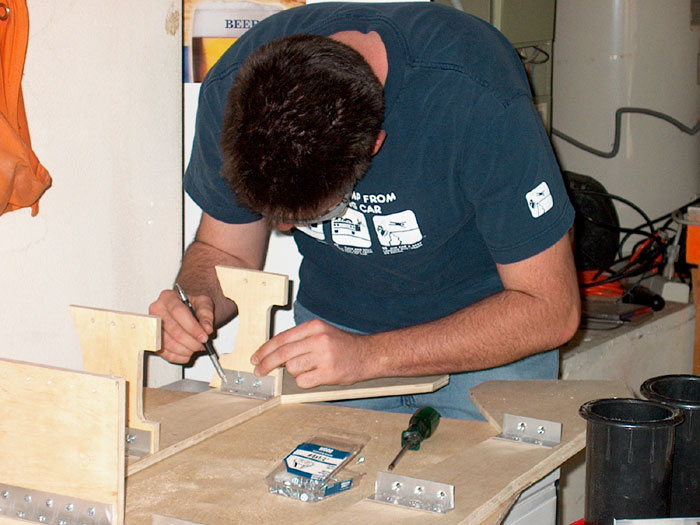
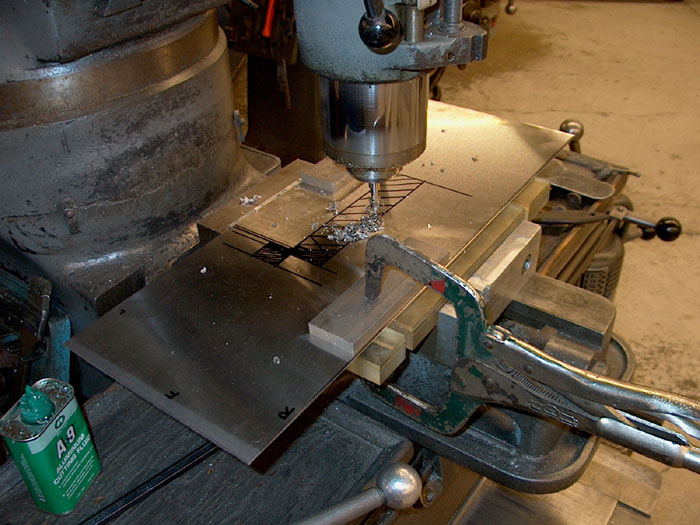
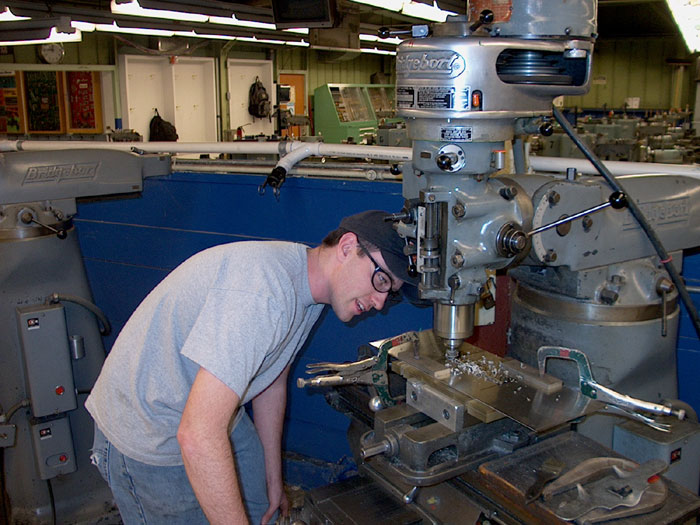
The last big step in machining the stainless steel was making the cutout for the top of the shifter. I considered a few ways to cut this, including using a jigsaw, a plasma cutter, and a vertical mill. Having cut the gauge openings using the hole saw, I knew the jigsaw would be a difficult approach. I probably would have gone through 40 blades and taken 8 hours. The plasma was a hopeful option, but after experiment I realized I'd never get the edge finish I wanted. Finally I talked to an instructor on campus and secured a Bridgeport vertical mill. In about an hour I completed the required cutout and was ready for a trial fit.


MORE TO COME...